
When your 2013 Nissan Altima suddenly loses power to the radio, lights, or windows, the issue is often traced back to a blown fuse. Every electrical function in your Altima relies on a carefully designed fuse system that protects vital components from overload. Knowing where each fuse and relay is located can save hours of guesswork and prevent unnecessary repair costs.
The 2013 Nissan Altima fuse box diagram provides a clear visual map of the car’s electrical layout, helping you identify which fuse controls specific features such as the headlights, brake lights, or power sockets. Inside the cabin, one fuse box sits below the driver’s dashboard, while the other is mounted in the engine compartment near the battery. Each section contains unique fuses and relays that serve different electrical circuits.
This complete guide explains the fuse box locations, the purpose of each fuse, and practical steps to replace them safely. Whether you are troubleshooting a malfunctioning accessory or performing routine maintenance, understanding the 2013 Nissan Altima fuse box diagram ensures you can handle electrical issues with confidence and precision.
Overview of the Fuse System in 2013 Nissan Altima
The fuse system in the 2013 Nissan Altima acts as the electrical safeguard for every circuit in the vehicle. Each fuse is designed to break the flow of current when the electrical load exceeds a safe limit, protecting sensitive components from damage. The system includes three main elements: fuses, relays, and fusible links. Together they maintain a balanced distribution of power across the Altima’s entire network of lights, sensors, and control modules.
There are two primary fuse boxes in the 2013 Altima. The first is located inside the cabin, beneath the steering wheel on the driver’s side. This panel contains fuses for accessories such as the power sockets, radio, and brake lights. The second fuse box is placed in the engine compartment near the battery. It controls more demanding systems including the ignition, headlights, and fuel pump through a combination of high amperage fuses and relays.
Each fuse has an amperage rating, typically from 10A to 40A, indicated by color and number on the fuse body. This value defines how much electrical current it can safely handle. Relays, on the other hand, act as automated switches that manage larger circuits using smaller control signals. Understanding this relationship between fuses and relays helps you interpret the fuse layout diagram correctly and identify which components share the same electrical pathways.
A well-functioning fuse system ensures that every part of the Altima performs reliably without short circuits or power loss, making this knowledge vital for any owner or DIY mechanic.
Interior Fuse Box Location and Diagram
Inside the 2013 Nissan Altima, the interior fuse box is located just below the driver’s side dashboard, slightly above the foot pedals. It is positioned for easy access when checking or replacing fuses related to the vehicle’s cabin electronics. To reach it, you may need to remove a small plastic cover that protects the fuse panel from dust and debris. Once uncovered, the fuse box reveals a well-organized layout with numbered slots, each controlling a specific electrical function inside the car.
This interior fuse box manages most of the convenience and safety features used in daily driving. It includes fuses for the power outlets, brake lights, radio, and the instrument cluster. For example, a 20A fuse typically powers the auxiliary socket or cigarette lighter, while a 10A fuse may control the stop lamps or electronic brake system. If any of these systems stop functioning, checking the corresponding fuse in this panel is the first troubleshooting step.
Each fuse can be identified by its color and amperage value. A small diagram printed on the back of the cover or in the owner’s manual helps you match the fuse number with its function. Using a fuse puller or a pair of tweezers, you can easily remove and inspect the fuse for signs of burning or a broken wire. Replacing a blown fuse with one of the same amperage restores power immediately and keeps your Altima’s interior systems operating safely and efficiently.
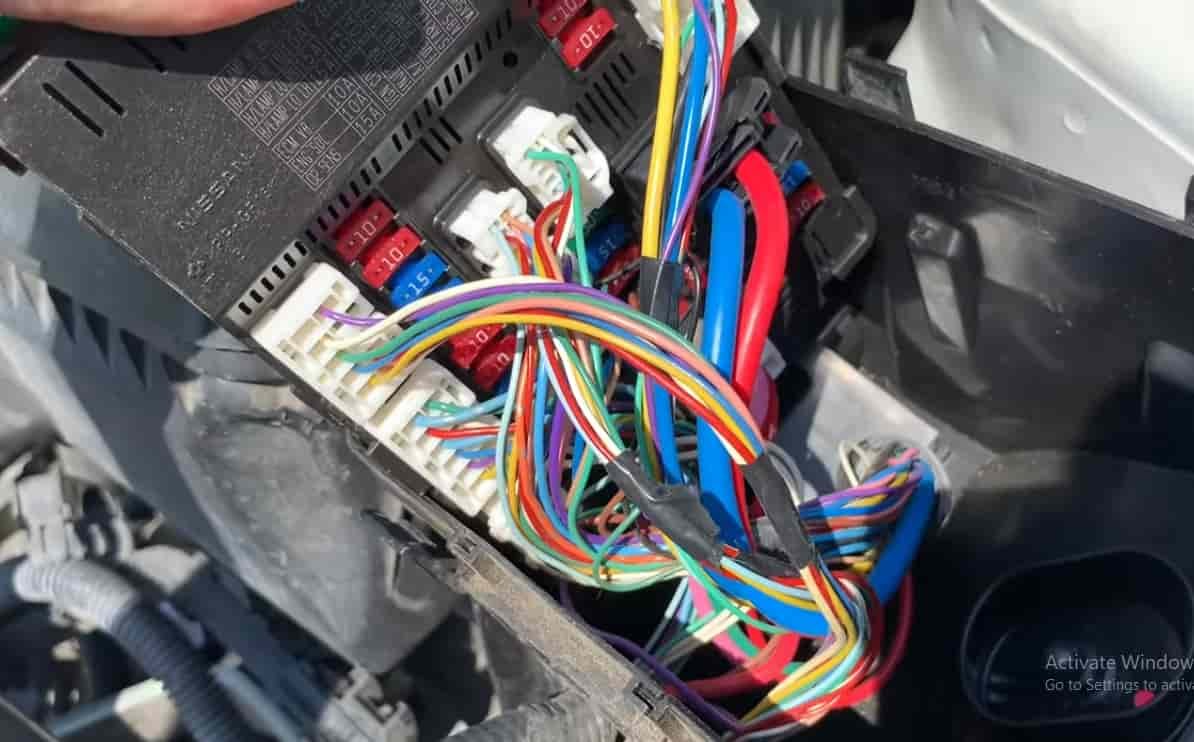
Engine Compartment Fuse Box and Fusible Link Block
The engine compartment of the 2013 Nissan Altima contains the second major fuse box along with a fusible link block that protects the vehicle’s most powerful electrical circuits. This assembly is located near the battery on the driver’s side, under the hood. It is easy to identify by its large black cover that often includes a printed diagram of the fuse layout. Opening this cover gives you access to high amperage fuses and relays that control essential systems such as the ignition, headlights, cooling fans, and fuel pump.
Unlike the interior fuse box, which manages comfort and accessory features, the engine bay fuse box handles critical operations that keep the engine running smoothly. For instance, the headlamp relay ensures consistent lighting performance while the fuel pump fuse provides power to the fuel delivery system. Some fuses in this compartment are rated as high as 40A to handle the heavier electrical load required by these systems.
The fusible link block is another key component located close to the positive terminal of the battery. It acts as a large-scale safety device, preventing excessive current from damaging the entire electrical network. Each link in the block serves as a protective bridge for major circuits like the alternator and starter motor. Understanding how these fuses and fusible links interact allows you to trace power flow more effectively when diagnosing engine-related electrical problems.
Regular inspection of this fuse box ensures the Altima’s performance and reliability, helping to prevent sudden failures caused by electrical shorts or corrosion.
Common Fuse Problems and Troubleshooting
Electrical problems in the 2013 Nissan Altima often begin with something as simple as a blown fuse. A fuse may fail when a circuit experiences a sudden surge of power, protecting the rest of the system from further damage. The most common symptoms of a blown fuse include nonworking headlights, an unresponsive radio, or power windows that suddenly stop functioning. Sometimes, a failed relay can create similar problems, causing intermittent electrical behavior even though the fuse itself appears intact.
When troubleshooting, the first step is always a visual inspection. Remove the suspect fuse and hold it up to the light. If the metal strip inside is broken or discolored, the fuse needs replacement. However, not all faults are visible. For a more accurate diagnosis, use a multimeter to test continuity. Place the probes on both ends of the fuse; a reading close to zero indicates a good fuse, while no reading means it is blown. The same tool can help verify if a relay is properly switching current between terminals.
Persistent electrical issues after replacing a fuse might indicate a deeper problem such as corroded connectors, frayed wiring, or a malfunctioning Body Control Module. In such cases, cleaning the terminals or checking for loose connections around the fuse box may restore normal operation. Regular inspection and testing not only prevent unexpected breakdowns but also ensure that every electrical component in your Altima receives a steady and reliable current.
How to Replace a Fuse Safely
Replacing a fuse in the 2013 Nissan Altima is a simple task that can prevent costly repairs if done correctly. The most important rule is to replace a blown fuse with another of the same amperage rating. Using a fuse with a higher rating might seem convenient, but it can allow excessive current to flow through the circuit and cause serious electrical damage.
Before starting, make sure the ignition is turned off and the key is removed. Open the appropriate fuse box cover, either inside the cabin or in the engine compartment. Locate the fuse you need to check using the diagram printed on the cover or the information in the owner’s manual. Using a fuse puller or a small pair of tweezers, gently extract the fuse from its slot. Examine it closely under light; if the metal strip inside is melted or broken, it must be replaced.
Insert the new fuse carefully, ensuring it fits snugly in the same position. After replacement, turn the ignition back on and test the affected component, such as the radio, headlight, or power outlet, to confirm the repair was successful. If the new fuse blows immediately, it indicates a deeper problem such as a short circuit or faulty component.
Always keep a few spare fuses in your glove compartment. They take up little space and can save time during emergencies. By following these simple steps, you maintain proper car electrical safety and ensure that your Nissan Altima’s electrical system continues to perform reliably.
Fuse Diagram Resources and Reference Links
Having reliable resources is essential when working with the electrical system of your 2013 Nissan Altima. While the diagrams printed on the fuse box covers are helpful, they only provide a brief overview. For more detailed information, you can consult several trusted references that offer complete charts, visual layouts, and step by step guides for each fuse and relay.
The first and most accurate source is the official Nissan owner’s manual. It includes fuse box diagrams, amperage ratings, and the specific purpose of every fuse in both the interior and engine compartments. If your manual is missing, you can download a digital version from Nissan’s official website. Another excellent resource is fuse-box.info, which provides high resolution images of fuse layouts and updated references for each Altima model year.
Online automotive forums and repair communities also share valuable insights from experienced mechanics and Altima owners. These discussions often include wiring references, troubleshooting tips, and real world examples of common electrical problems. For those who prefer a visual approach, YouTube offers helpful tutorials that demonstrate how to locate, test, and replace fuses correctly.
It is always a good idea to save a copy of the 2013 Nissan Altima fuse diagram chart on your phone or print it for quick reference. Having easy access to this information ensures that you can identify any fuse efficiently and avoid confusion during emergency repairs or maintenance tasks.
Conclusion
Understanding the 2013 Nissan Altima fuse box diagram gives you a clear advantage in maintaining your vehicle’s electrical system. Every function in the car, from headlights to power outlets, depends on properly working fuses and relays. Knowing where these components are located and how to replace them helps prevent unnecessary trips to the repair shop and saves both time and money.
This complete guide has covered the layout of the interior and engine compartment fuse boxes, explained how each fuse operates, and offered practical steps for safe replacement. By using reliable resources such as the Nissan owner’s manual and verified online diagrams, you can identify problems quickly and fix them with confidence.
Regular fuse inspection should be part of every Altima owner’s maintenance routine. A few minutes spent checking the fuse locations can prevent sudden power failures and ensure that the entire electrical network runs smoothly. Whether you are troubleshooting a minor issue or performing preventive care, a solid understanding of the 2013 Nissan Altima fuse box diagram will keep your vehicle operating efficiently and safely for years to come.