
Removing brake lines from calipers without losing brake fluid can be a tricky task for an average car owner. However, with the right tools and technique, it can be done successfully without making a huge mess or losing most of your brake fluid in the process.
In this article, we’ll walk you through the steps for removing brake lines from calipers without losing more than a minimal amount of brake fluid. We’ll cover what you need to prepare beforehand, how to position your tools and containers to catch fluid, and tips for smoothly detaching the brake line.
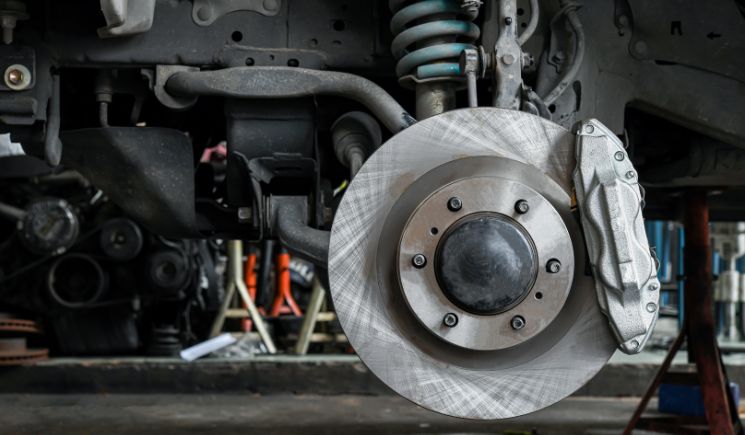
Steps For Removing Brake Lines From Calipers Without Losing More Than A Minimal Amount Of Brake Fluid
Supplies Needed:
- New brake line to replace the old one
- Line wrench that fits the brake line fittings
- Container to catch the brake fluid (large pan or bowl)
- Clean rags
- Brake fluid syringe
Step 1: Inspect the brake line and fittings
- Look for any wear, cracks, or damage. Make sure the line wrench properly fits the brake line fittings that you are planning to remove.
Step 2: Prepare the container underneath the caliper
- Place a large pan or bowl under the caliper to catch any brake fluid that leaks out when removing the line. Position it right underneath where the brake line connects.
Step 3: Thoroughly clean the line and fittings
- Use brake cleaner spray and rags to completely clean around the brake line and fittings. This will prevent debris from getting into the brake system.
Step 4: Loosening the brake line fitting
- Place the line wrench securely over the brake line fitting and loosen it slowly. Make sure that you lose it for an average measure and not to free it fully.
Step 5: Drawback the caliper piston
- Use a brake fluid syringe to draw back the caliper piston on the side that you are working on. This will prevent overflow when detaching the line.
Step 6: Place the rag around the fitting
- Wrap a clean rag around the brake line fitting to absorb any excess fluid when the line is removed.
Step 7: Support the brake line
- Support the metal brake line with one hand so it does not bend or kink when detached from the caliper.
Step 8: Loosen the fitting completely
- Use the line wrench to fully loosen and detach the brake line from the caliper fitting. Ensure that you do this slowly and smoothly.
Step 9: Plug the caliper opening
- Immediately plug the caliper port opening with a rubber stopper or gloved finger to prevent fluid loss.
Step 10: Align the new brake line
- Position the new brake line to match the opening. Make sure it isn’t kinked.
Step 11: Attach the new brake line
- Snugly thread the new brake line fitting into the caliper port until you feel it tight.
Step 12: Refill the brake system
- Refill the brake fluid reservoir as needed. If you have to bleed the brakes to remove any air.
Frequently Asked Questions About How To Remove Brake Line From Caliper Without Losing Fluid
Q: Is it okay if some fluid spills out while doing the process?
A: A small amount may spill out, but you want to minimize this. More than a couple of tablespoons likely indicates that you need to improve your technique.
Q: Can I do this without any professional help?
A: It’s wise to have someone assist you if you are unfamiliar with the process. An extra set of hands makes the line swap smoother and effective.
Q: Do I need to replace the brake fluid after completing the process?
A: Not necessarily. But it’s a good practice to flush and replace fluid per your vehicle’s maintenance schedule.